
Admin: Teams
RealHub 365 understands the organizational structure a team or brokerage needs in order to achieve success.
Organize agents into offices, teams, teams within offices, and solo agents within offices with just a few clicks!
First, make sure your agents are listed in the Team roster and that each team member has completed their profile by publishing their personal subdomain website, creating a comprehensive member bio, producing a professional email signature, and then, selecting the communities and testimonials applicable to them.
Next, the Admin can now organize team members into a hierarchy that perfectly mirrors the internal office structure. Go to “Team” in your CRM menu where you’ll then see your roster.

Click on “Create Office” at the top if you require more than one office. The pop-up window then lets you create an office, or edit your existing offices.
Selecting “Create Office” opens another window that allows you to provide an office Name and Description. These are the only required fields. If you want your individual office addresses and phone numbers to show on your website, enter that information here.
Select “Create Office” and your office is now available for your team. Repeat the same process to create Groups that are designed to function like a team within an office.
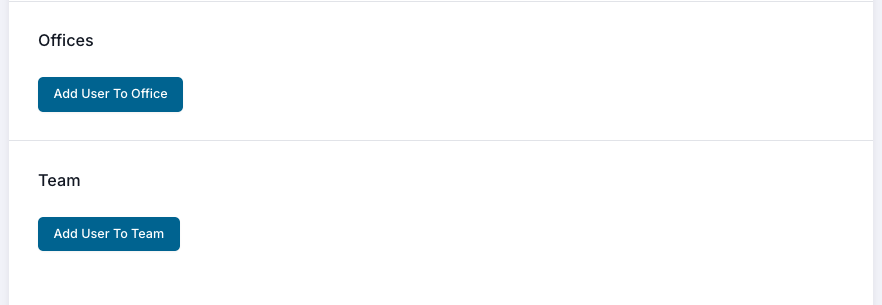
To assign team members to an office or group, simply select a team member from the roster page and scroll down beneath the permissions section.
Select Add User to Office, or Group, and then make a selection from the drop down list.
When that’s done, turn on the setting to enable that agent’s picture, name and contact information to show on the main website, including links to current listings and their personal site.
Repeat this process for each agent to organize your team exactly the way you want it. The changes you make will then be reflected on your main website’s “Meet the Team” section.