
Admin: Communities
A key aspect of creating value with your RealHub 365 CRM, is to create and enhance your own communities within your target service area.
It’s important to understand how the communities you create impact other areas within your CRM as well as on the main and individual agent websites.
The first place we’ll look is in the website section of your CRM under “Featured Listing”. Here, we want to look at the “Areas” field. Website settings are global settings and only available at the broker/admin level.
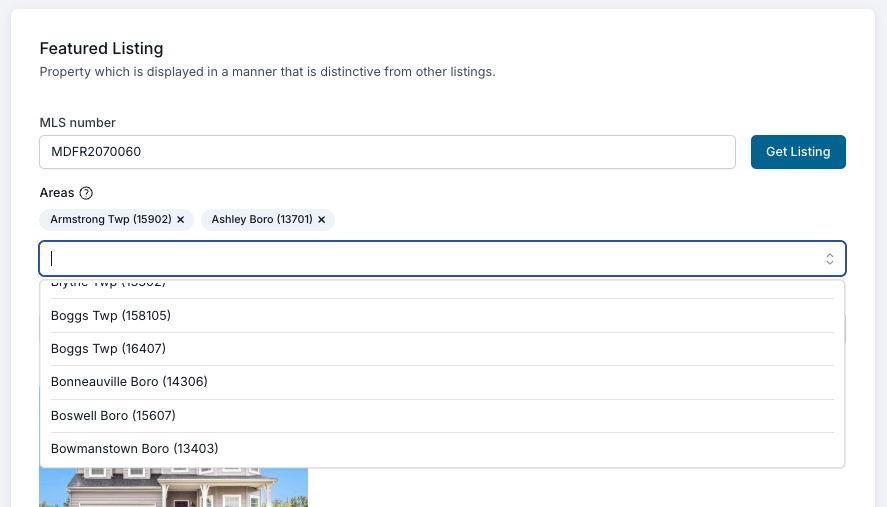
Selections within this field will apply a filter, such that only properties within the selected areas will show on all main and agent website’s property search results. If this area is left empty, then the entire MLS(s) area is considered to be your general service area.
Next, let’s create communities for the main website that display in the menu links at the top of your site.
To create communities, simply navigate to the “Communities” section and select “Add”.

Give your community a name and select an image that you want to show on the community page. This can be an image of the community, a lender partner, this week’s rates, or even a new development phase that’s coming soon.
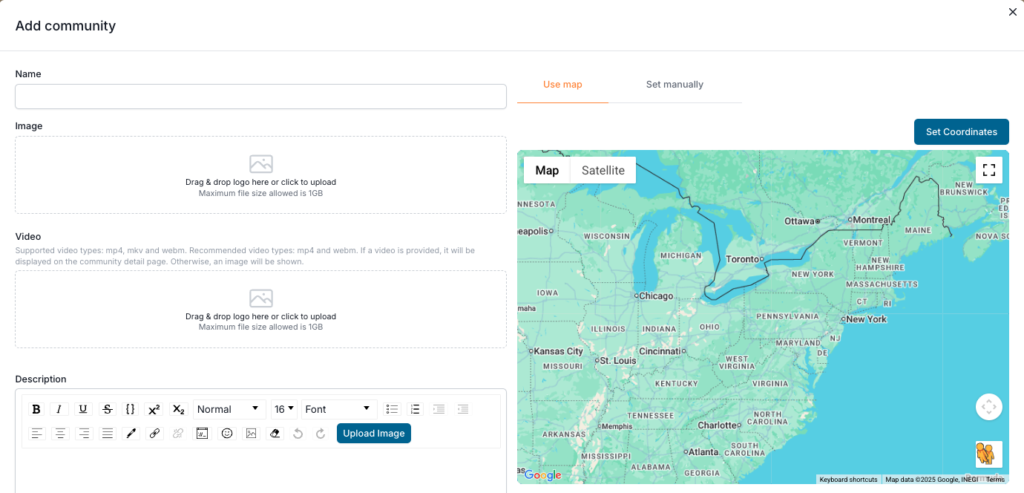
Next, you have the option of uploading a looping video that will display across the top section of the page.
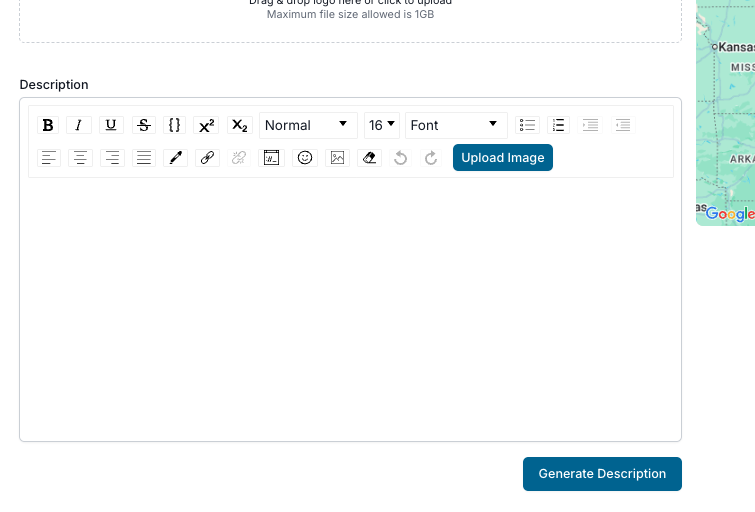
The next section down is your description of the community. You can either copy a community description from a previous website, or select the “Generate description” link which will enable you to use AI tools to create an SEO-friendly description where you can hyperlink to other reputable websites and enhance the SEO value of your community page.
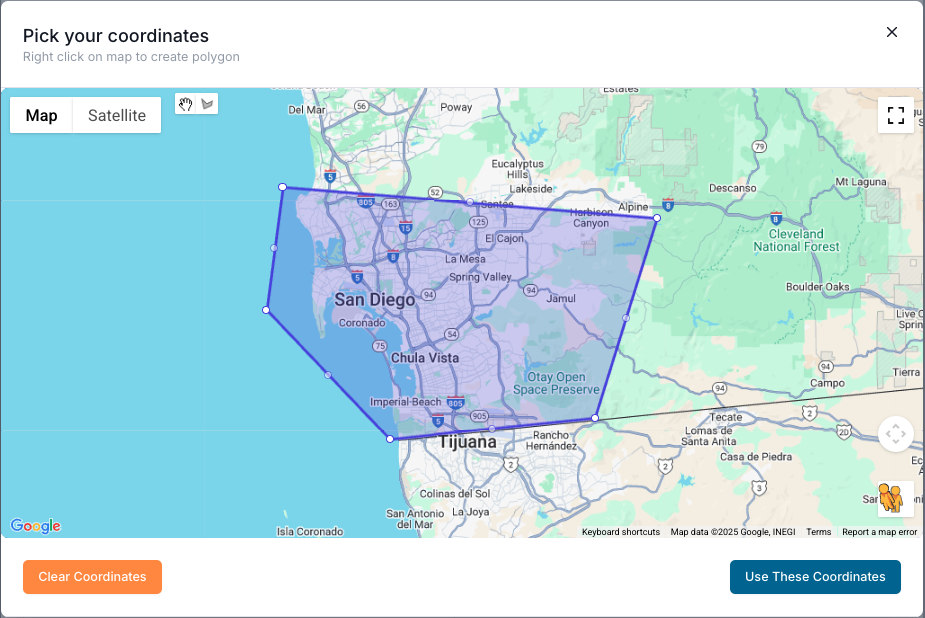
Finally, define your community area boundary by choosing “set coordinates” under the map option, which will allow you to select the polygon tool and draw the area that outlines your community. Select “use these coordinates” if you are satisfied with the selection.
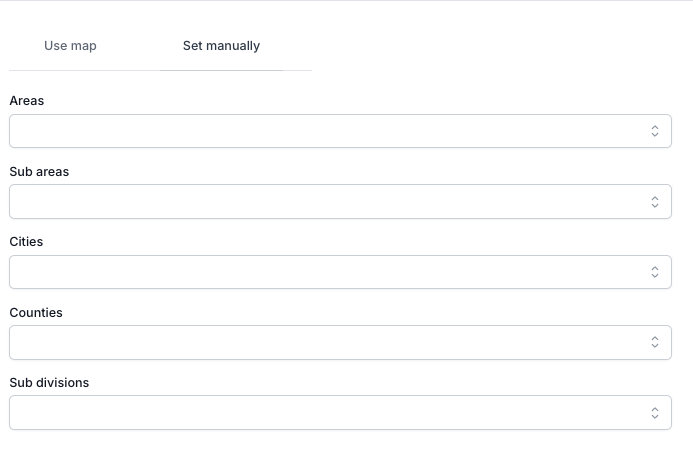
If you would like to use the MLS-defined areas for your community, select the “set manually” option and define your area using any of the criteria available. Once complete, simply select “save” in the bottom right corner.
Understand that you are able to create communities that are defined by your MLS area, but may differ from those areas selected in the “Featured Listing” step discussed earlier. This allows for flexibility as needed by your business goals.
Congratulations, you have created a community that can be used for marketing purposes and to help define service areas for your organization.
It’s important to highlight the flexibility of using these community pages as modified landing pages for a variety of marketing purposes to drive traffic and enhance search engine awareness through valuable links and content.
Each community has its own QR code that can be used in your marketing. Additionally, each agent has the ability within their profile to capture the QR code for a given community on their own personal site in order to focus their personal marketing efforts back to their site.
Or