Agent Profile
It’s important that you set up your personal items in your profile at your earliest opportunity to make sure you’re ready to start communicating with your contacts and clients when the platform goes live.
Once logged in, click on your profile image link in the lower left corner.
On the next screen, verify the information that’s already there and complete the following steps:
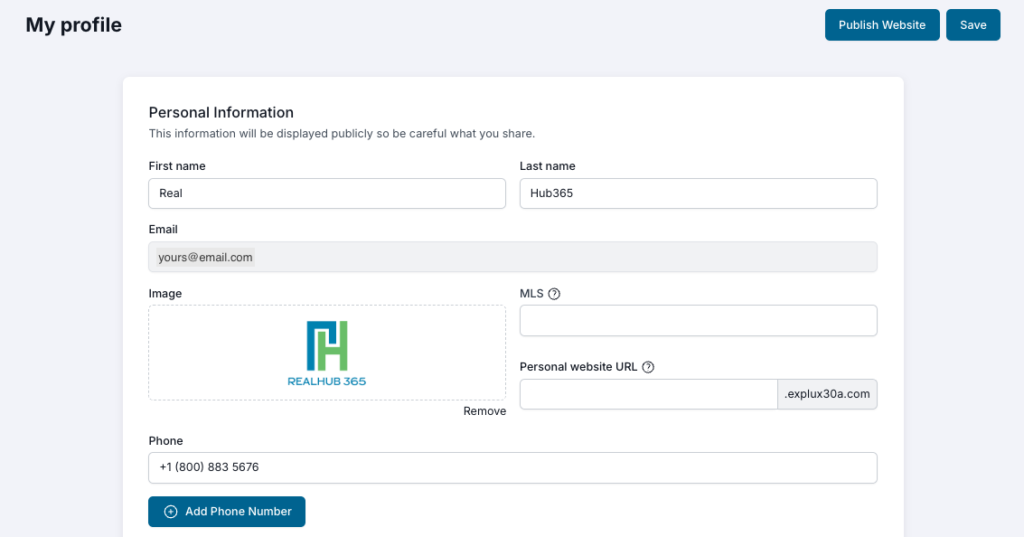
1. Upload your high resolution headshot photo.
2. Input your MLS number for your IDX feed. This is not your License #, but the ID that your MLS uses. If you can’t find this identifier, please let your onboarding rep know.
3. If you are on a team and want to select a subdomain extension to use for marketing, or to forward an existing domain that you own, you can enter the prefix in the ‘Personal Website URL’ section. More detail about your personal website can be found in the Agent Subdomain Website section.
4. Verify your phone number. This is the phone number that will display on your personal site.
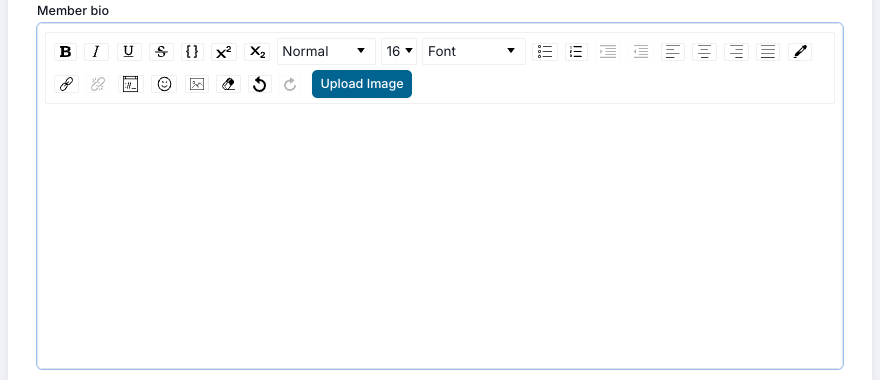
5. Create a bio, or copy and paste one used elsewhere, into the Member Bio section. This bio will be displayed on your personal site, as well as the main company website. We recommend using the same bio (word for word) on your site as you do on major sites like realtor.com, zillow.com and others. If you need help creating a bio, use the AI tools located within your new platform.
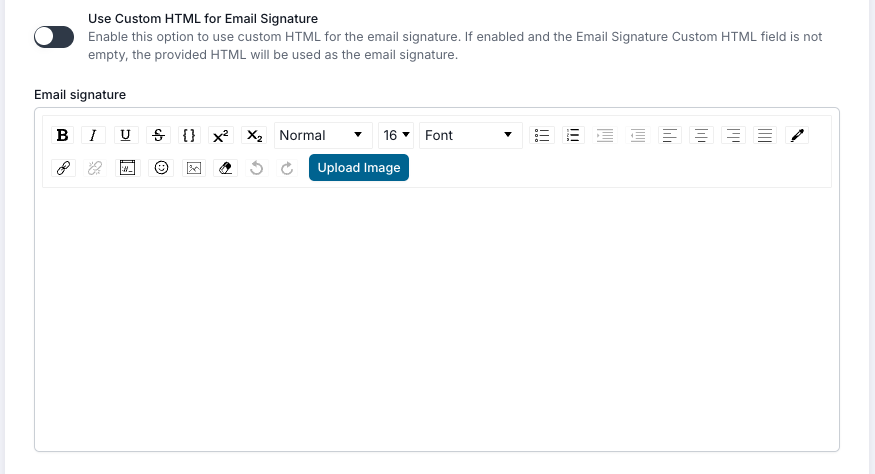
6. Next, create a new email signature that will attach to all templates and email communications. There are two ways of creating your email signature:
Option 1: Manually enter the information and apply formatting to the text.
Option 2: Enter HTML. AT THIS POINT, CLICK OR TAP “SAVE” IN THE UPPER RIGHT CORNER.To do this, copy your existing signature and enter the prompt “convert this email signature into HTML” into ChatGPT in AI Tools and hit Enter. Then, paste the signature into ChatGPT and hit Enter. You’ll be provided with HTML code that you’ll copy and paste back into the Email Signature field.
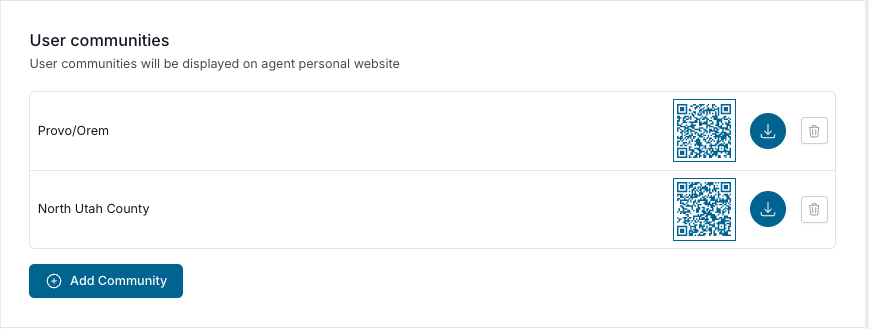
7. Select the Communities you serve from those available in the list. This will present a filter option in the properties search bar on the left side drop down where a visitor can filter the inventory to only show properties within the communities you’ve chosen.

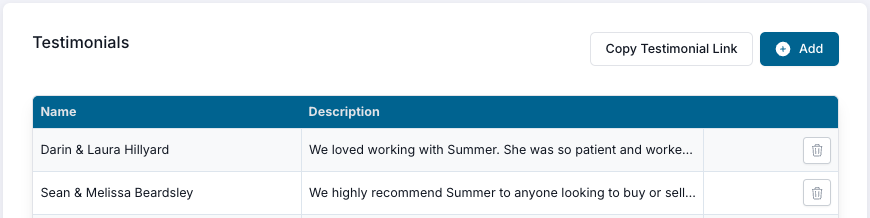
8. You may also want to display only the testimonials from your clients on your personal website. If so, use this section and select them to your personal subdomain website to help showcase your direct efforts.
9. Choose your own Featured Listing for your personal site. This allows you to highlight your own listing to visitors and show your clients that you’re really going to bat for them and putting them first.
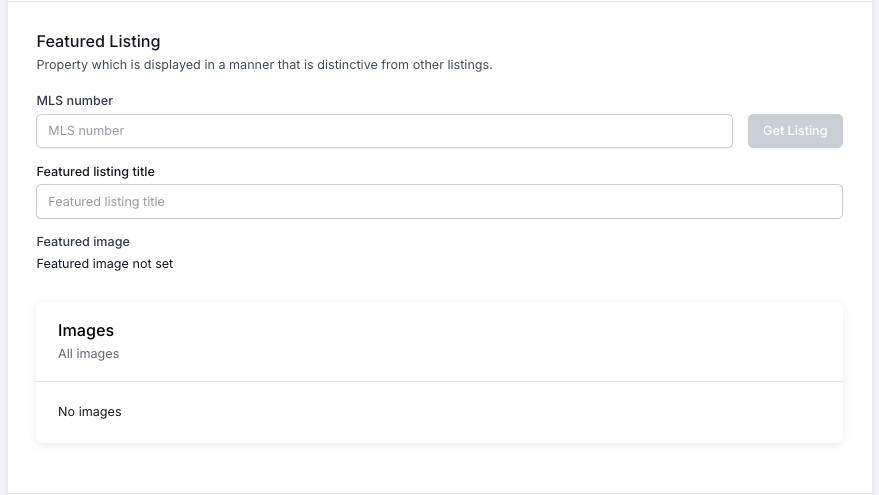
Enter the MLS number of your listing and select ‘Get Listing’ and let the system pull the data for you. Then, give it a catchy title and select the image you want shown. You’re all set!
If you don’t want to select a listing yourself, leave the fields empty and it will default to the Featured Listing selected by your admin for the main company page.
10. It’s recommended that you apply filters and turn on Momentum 365 to receive daily emails summarizing key CRM data points.
At the bottom, you can change your own password, see your virtual number for text messaging and phone calls within the platform (including the mobile app).
IMPORTANT: When finished, scroll to the top to save all changes. Then, if using a personal subdomain site, click or tap “Publish”.