
Social Media Connect
An optional feature within your RealHub 365 real estate platform is the Social Media Connect tool powered by Metricool. The integrated feature enables easy marketing to your social media platforms on a scheduled or on-demand basis. Connect Canva or Google Drive to use your custom designs with your marketing program.
Easy Setup
Setting up Social Media Connect requires only a few steps.
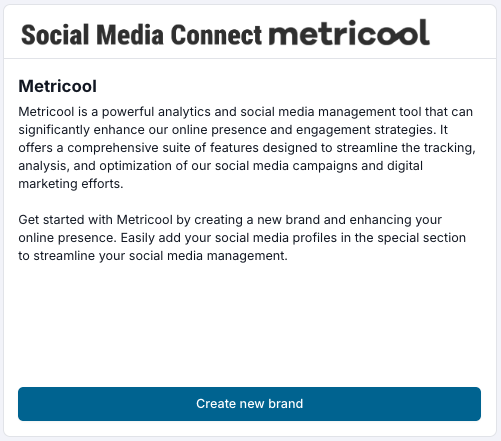
1. Go to Integrations in the main menu and select ‘Create new brand’.
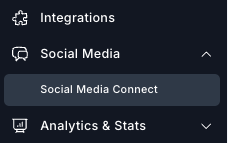
2. Go to Social Media Connect within Social Media on the menu.
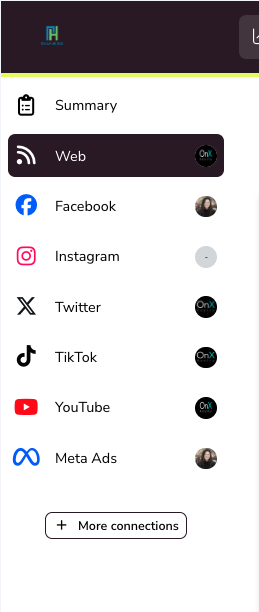
3. Begin connecting your business social media accounts and website by clicking on the “Add” button.
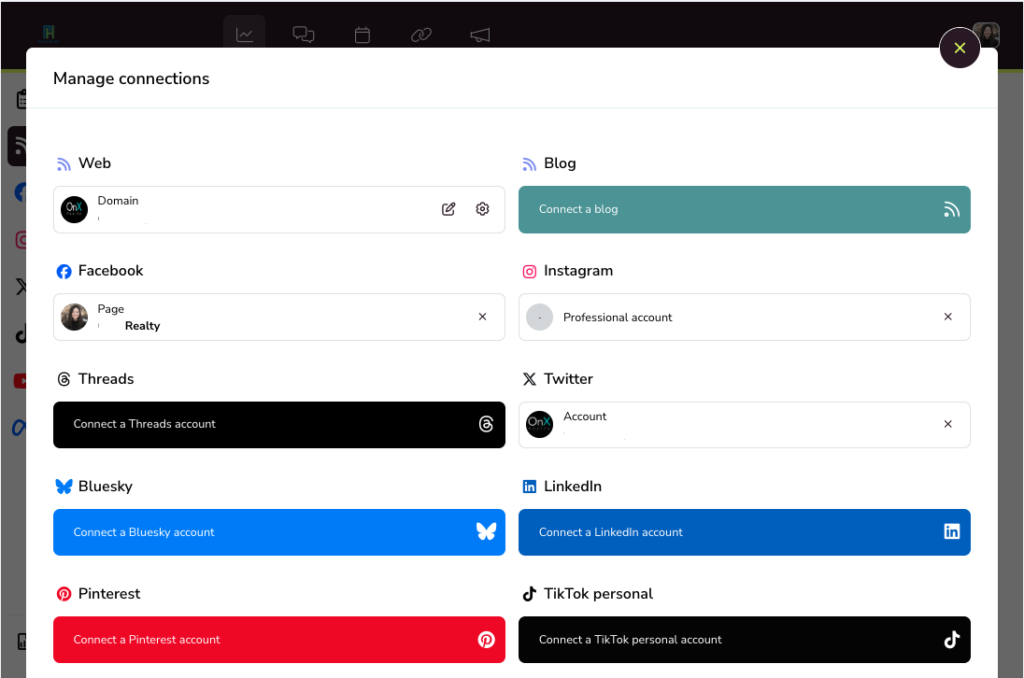
4. Select the channel you want to connect and then you’ll be presented with login credentials or other requirements for Social Media Connect to connect.
Using Social media Connect
First, you need to understand the main menu icons in the header of the screen. Here’s the quick summary of each:
Analytics
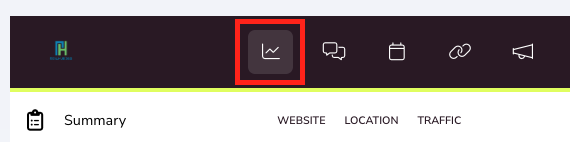
This section allows you to track the activity of your website and all of your connected social media accounts. You can dive into things like traffic, geo-location data, competitor data, and compare channel to channel by simply clicking on an account on the left side.
Conversations
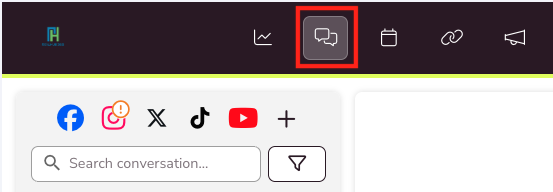
Welcome to social media efficiency. Here, you can manage all conversations across all connected platforms in one place. It makes it easy for an admin or agent to address comments in one focused environment and then get right back to the important items the move business forward without getting distracted.
Creating Posts
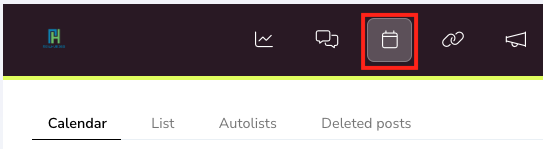
You’re going to spend a lot of time in this section. This is where you’ll create posts, schedule posts, and create lists. This section also provides data for different social media channels about the best times to post for a given outlet.
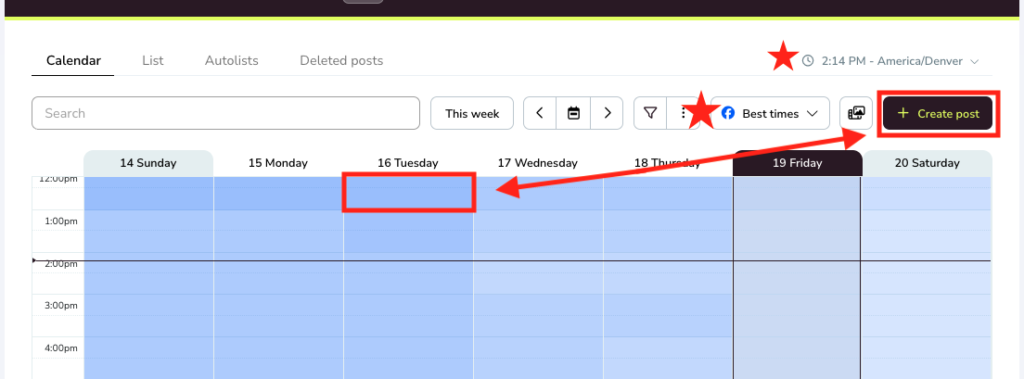
Let’s understand this section a bit:
- Create A Post: you can create a post by selecting the button in the upper right, or you can simply click on the calendar. Either one will bring up the post creation screen. Create as many posts as you want and schedule them out as far as you like.
- Best Times: select from your list of connected outlets to display onto the calendar when the best times are for posting. The darker the color, the better the time is to post and thereby garner the most attention to your content.
- Timezone: be sure to select the right timezone so that your posts go out when you want them to.
- Search: save time locating any post for review or editing purposes among those you’ve scheduled.
Real Life Examples and Tips:
Efficiency – many agents using this platform will carve out an hour or so each week and use that time to schedule all of their posts for the entire week. This lets them market and be socially present, without getting caught up in and lost to the vortex that is social media. Because you’re not influenced by a next post that sends you doom scrolling, you can create, post, and be productive and easily get back to the valuable tasks that will keep your business moving forward.
Leverage AI – A great exercise to employ is prompting AI to do something like, “Create a 10 week social media campaign of posts that promotes real estate….”. This can be done right inside the CRM under AI Tools and then bring a post over and create each post and schedule them out over the next 10 weeks. It’s truly just a matter of DOING IT! Let the tools do the heavy lifting and then just put the pieces in place to promote your services.